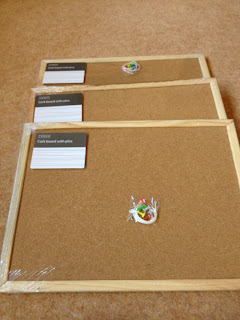
My DD has already made a covered pin board with one of them but then other things got in the way and they've been languishing in my crafting room (the family think it's their TV room but I know differently). As it is the first day of the holidays today and we are just waiting to drop DD off for her Scout camp, I decided to finish the covered pin boards this morning and throw in a tutorial. I hope it's of some help.
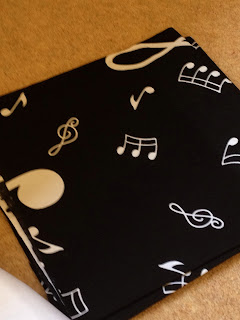

I bought this from fabricland which is my favourite fabric shop as it's full of so many different styles of material and it is really cheap. I've visited their Kingston and Brighton store and always come away with something. This time I bought the wadding and a lovely music note fabric (chosen by DD) for covering the pin board.

This is what it should look like from the back.
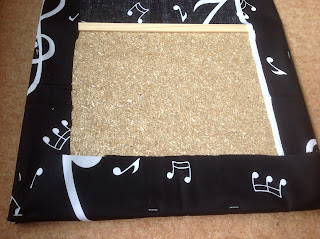
Now choose a ribbon (either the same colour as the material or a contrasting colour). Place it in the correct position on the front then staple it on the back. This is what it will look like from the back.

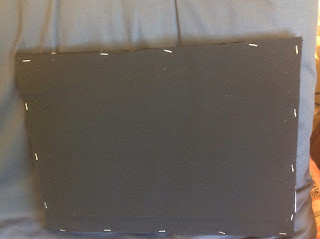
Finally, cut out a piece of material the same size as the pin board and staple it over all the rough edges and ribbon. This is what the back should look like. Sorry about the poor quality picture - it was still early in the morning and the light wasn't very good. As you can see, my staples are not very neat but it will be hanging on the wall so no-one will be able to see the back.
And here are the three finished boards with a variety of ribbons. I used organza ribbon as I had quite a lot of it in my stash. I hate it when you start making something only to realise that you don't have enough ribbon to finish it so I tend to always buy more than I need.

I hope this gives you a bit of crafting inspiration. Now off to plan the applique for my next bag, take DD to scout camp drop off and fit in a walk in the North Downs.
No comments:
Post a Comment